Planting Spring-Blooming Bulbs
Beautiful, Blooming Bulbs
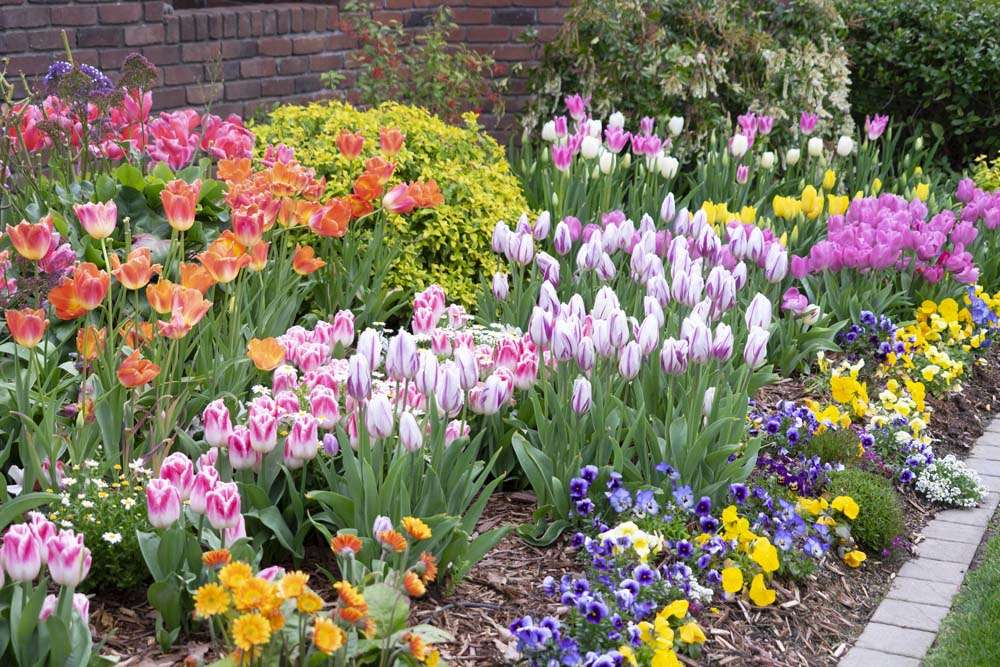
In the fall, you’re probably not thinking about planning next spring’s garden, but it’s actually the ideal time for planting flower bulbs. Spring-flowering bulbs need a long period of time underground during the winter months so they can bloom beautifully when it’s warm again. So, plant bulbs during fall for the best color in the spring!
Step 1: Choose Your Bulbs
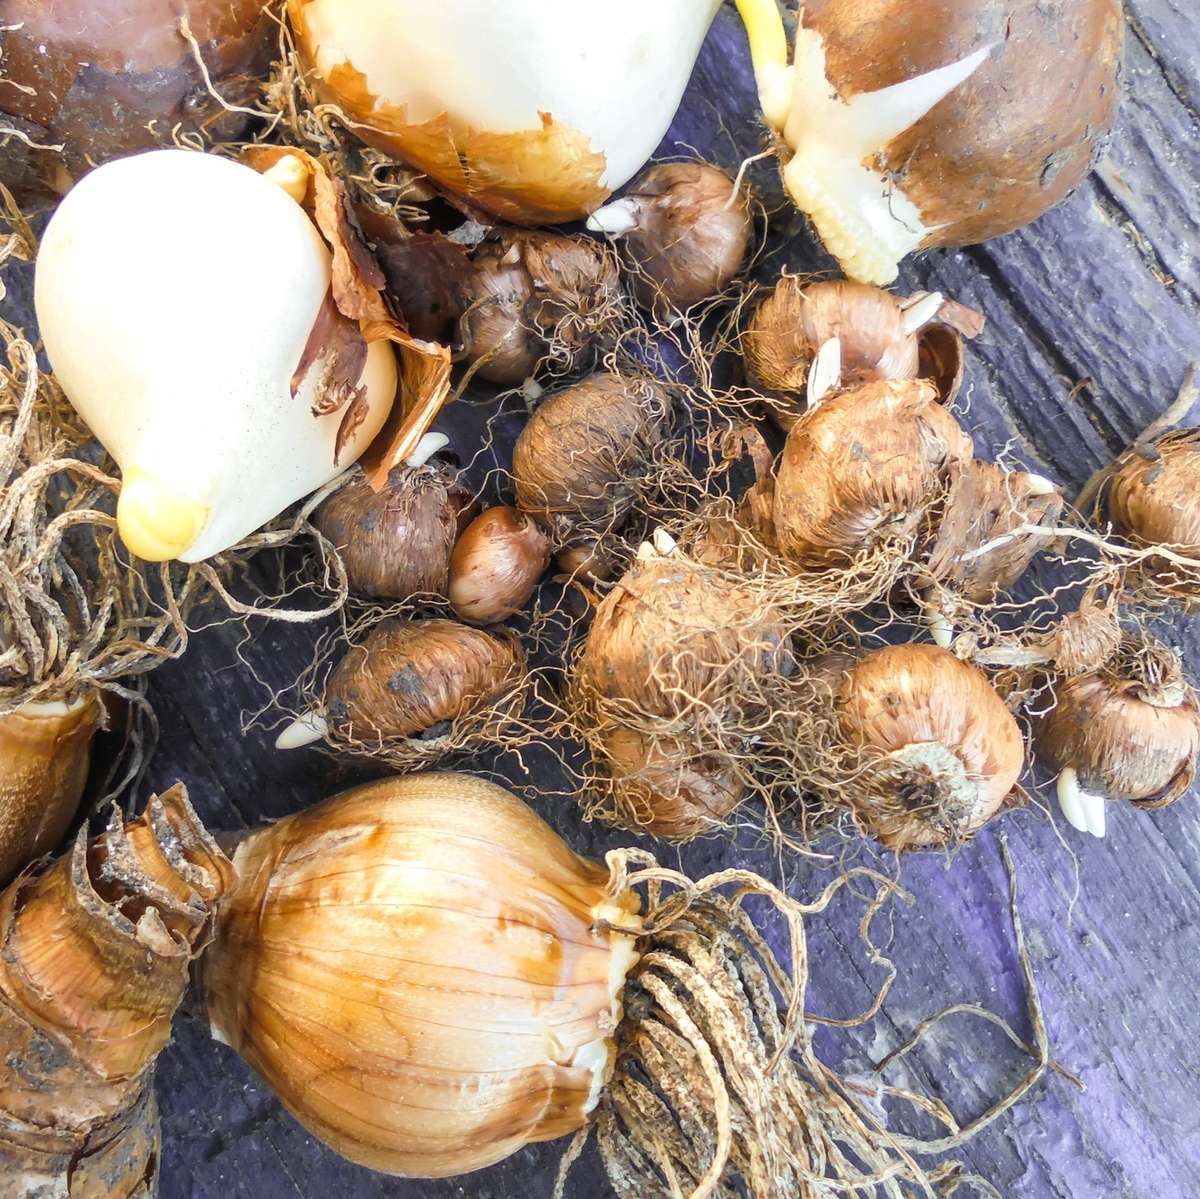
Now that you know when to plant bulbs, the next important step is choosing healthy bulbs. When hand selecting bulbs, look for bulbs that are large, dense and firm. Before picking your bulbs, consider the color scheme you’d like to create.
Tip: Certain bulbs, such as hyacinth and tulip, need a period of cold temperatures to encourage bloom. Put them in the refrigerator in a paper bag, away from fruits and vegetables, for six weeks before planting. Plant hyacinth bulbs in October and November. Plant tulip bulbs in December and January.
Tip: Certain bulbs, such as hyacinth and tulip, need a period of cold temperatures to encourage bloom. Put them in the refrigerator in a paper bag, away from fruits and vegetables, for six weeks before planting. Plant hyacinth bulbs in October and November. Plant tulip bulbs in December and January.
Step 2: Choose A Site
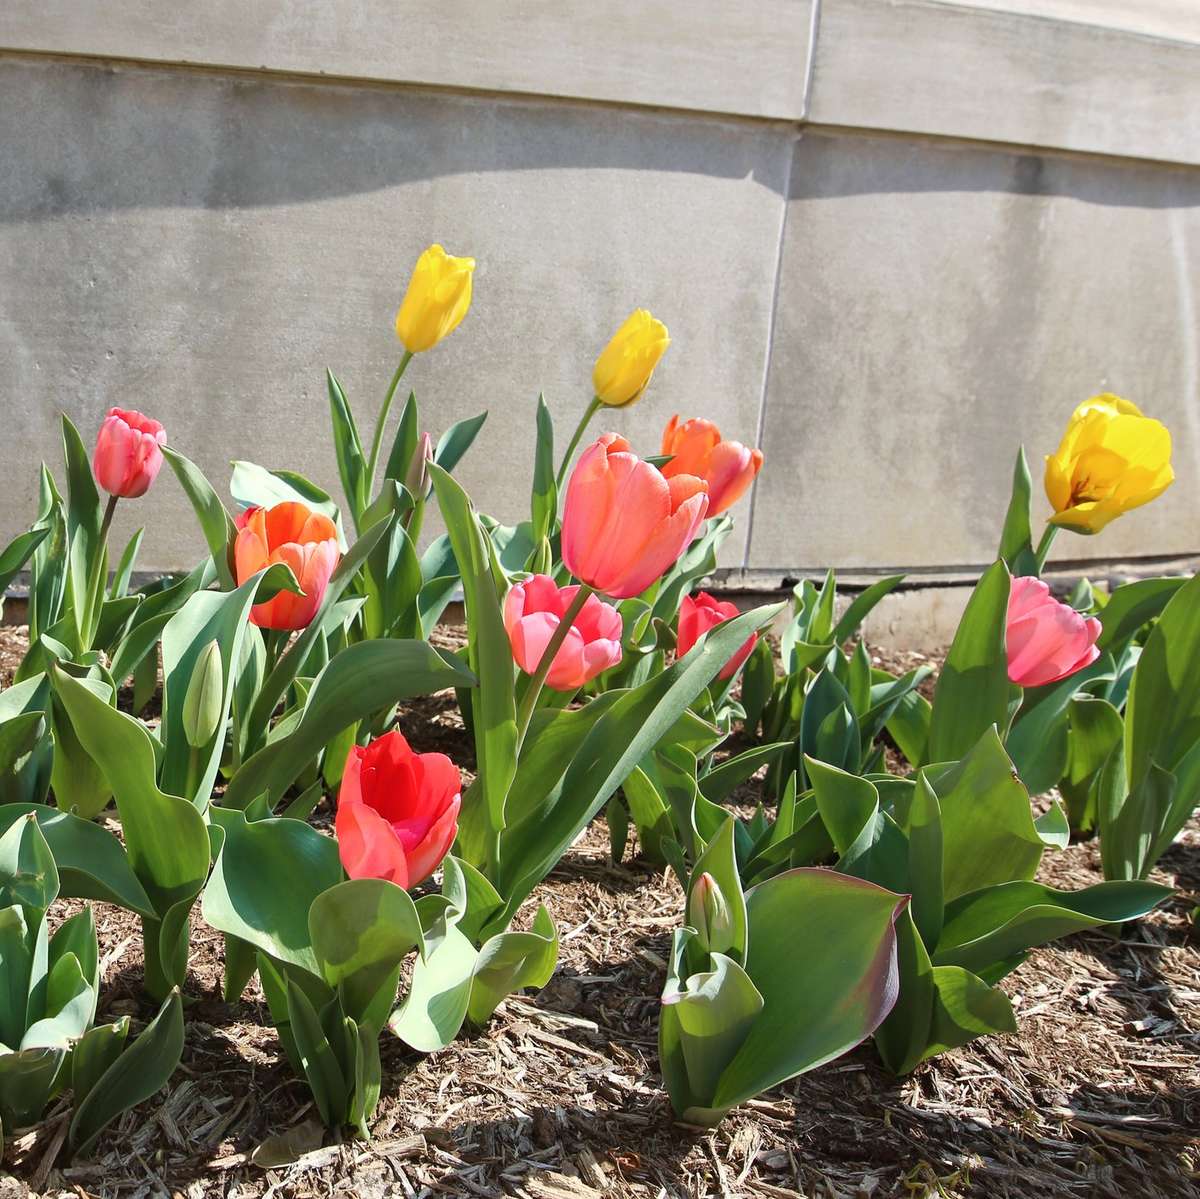
Since most bulbs require full sun exposure (at least four hours of direct sun a day), choosing the right gardening site is essential. Bulbs are less likely to rot in well-draining soil, so consider planting on a slope or in a raised bed if your soil does not drain well.
Step 3: Prepare The Soil
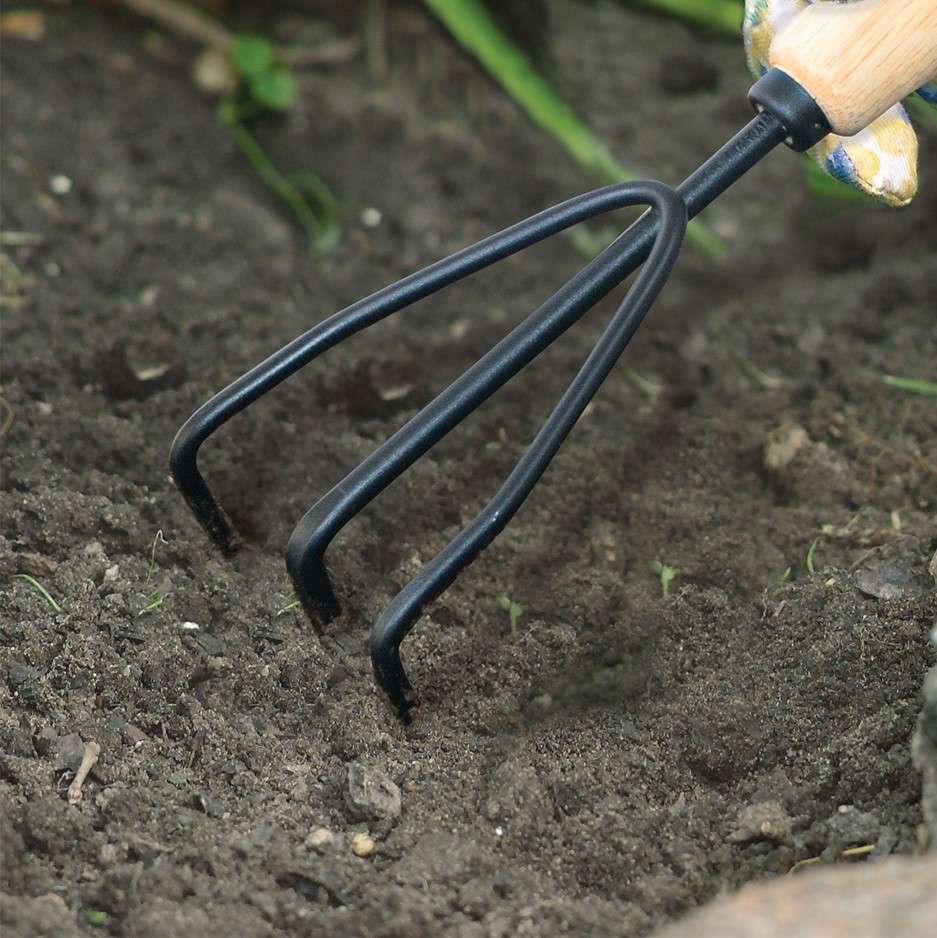
Use a garden tiller or trowel to loosen your soil. Amend the soil in your planting site with compost. Remove any weeds or unwanted vegetation from the area.
Check the bulb packages to determine spacing and exact planting depth. A good rule of thumb is to plant bulbs three times as deep as they are wide. If you have heavy clay soil, plant them slightly shallower.
Check the bulb packages to determine spacing and exact planting depth. A good rule of thumb is to plant bulbs three times as deep as they are wide. If you have heavy clay soil, plant them slightly shallower.
Step 4: Plant Your Bulbs
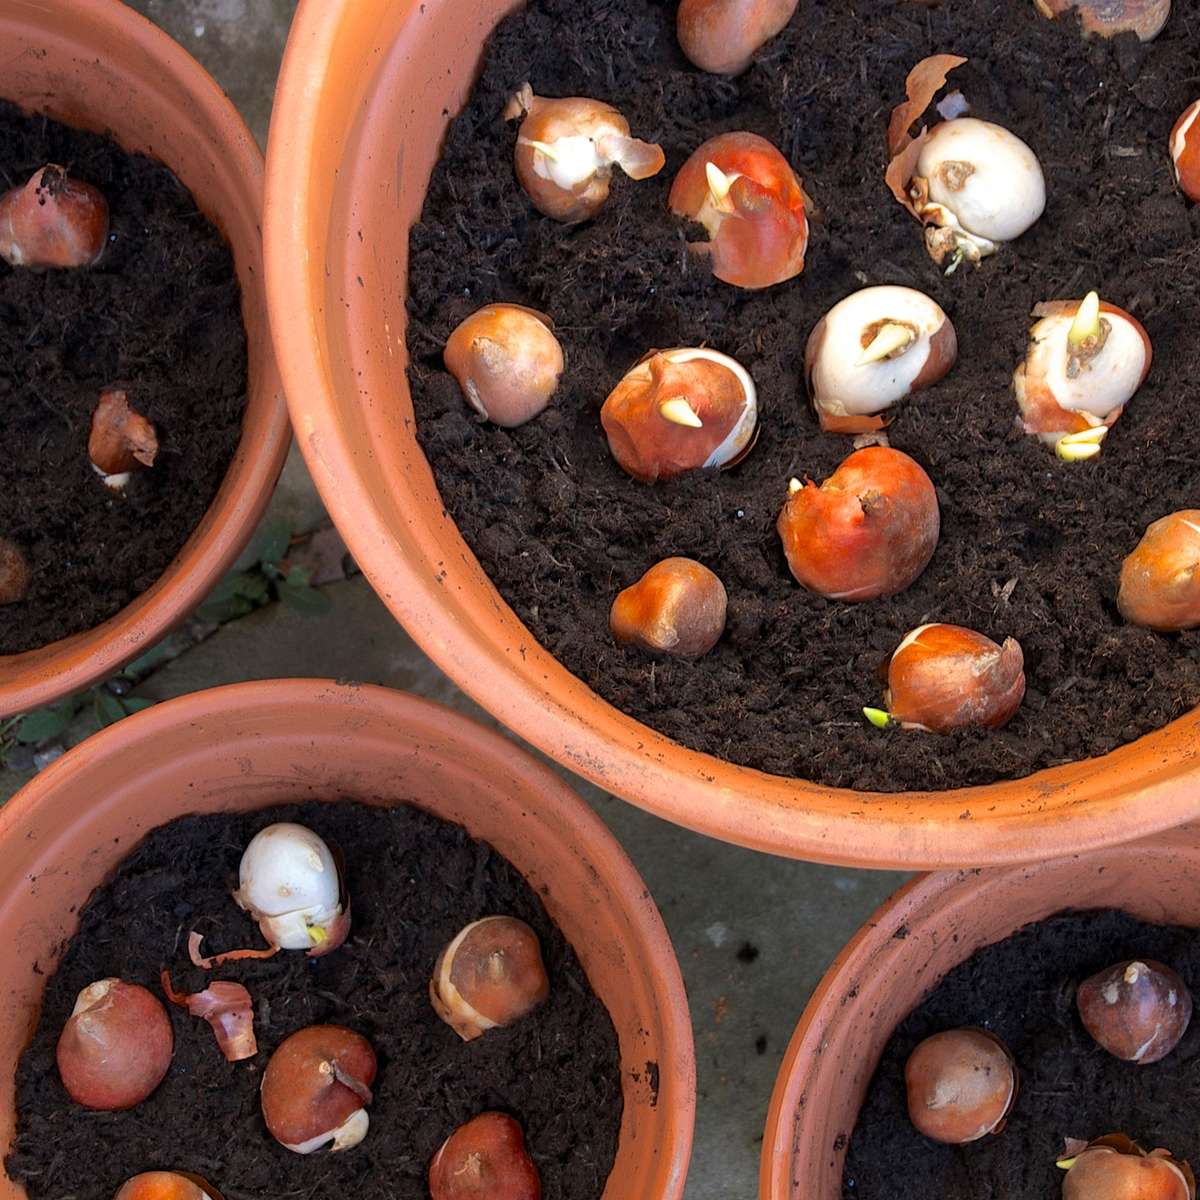
Bulbs look best when they’re planted in groups. In a small garden, plant bulbs in groupings of six to 12, in a large garden, plant bulbs in groups of 12 to 24. Be sure to place the pointed end of the bulb up.
Tip: To protect your bulbs from pests, plant bulbs in a cage made of hardware cloth. The roots and stems grow through, but rodents won’t be able to get to the bulbs.
Tip: To protect your bulbs from pests, plant bulbs in a cage made of hardware cloth. The roots and stems grow through, but rodents won’t be able to get to the bulbs.
Step 5: Give Your Bulbs
Care & Attention
Care & Attention
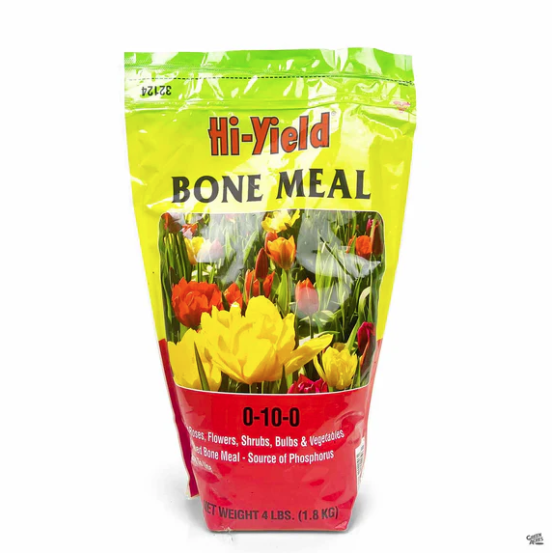
Bone meal provides a long-lasting source of both nitrogen and phosphate. Use this natural fertilizer to promote health and rapid root growth, along with flower and fruit formation. Apply when prepping garden beds for new plantings, on flowering bulbs, and edible bulbs and tubers such as onions, potatoes, carrots, and garlic.
Tip: Remove spent blooms then let the leaves die down on their own. This will result in a bigger, better display of blooms next year.
Tip: Remove spent blooms then let the leaves die down on their own. This will result in a bigger, better display of blooms next year.

